Uncover the Secrets of Whisperwind Haven in Wuthering Waves: A Comprehensive Guide to Treasure Chest Locations
Rinascita, the expansive world of Wuthering Waves, is brimming with secrets, quests, puzzles, and hidden treasures. Scattered throughout the landscape are numerous chests, some randomly placed, and others nestled within designated Treasure Spots. While most regions have a fixed number of these spots, Ragunna City is an exception. This guide focuses on the five Treasure Spots located in the Whisperwind Haven region. Use the in-game map's detection feature to pinpoint these spots, but remember, you'll need to manually locate the chests within each designated area.
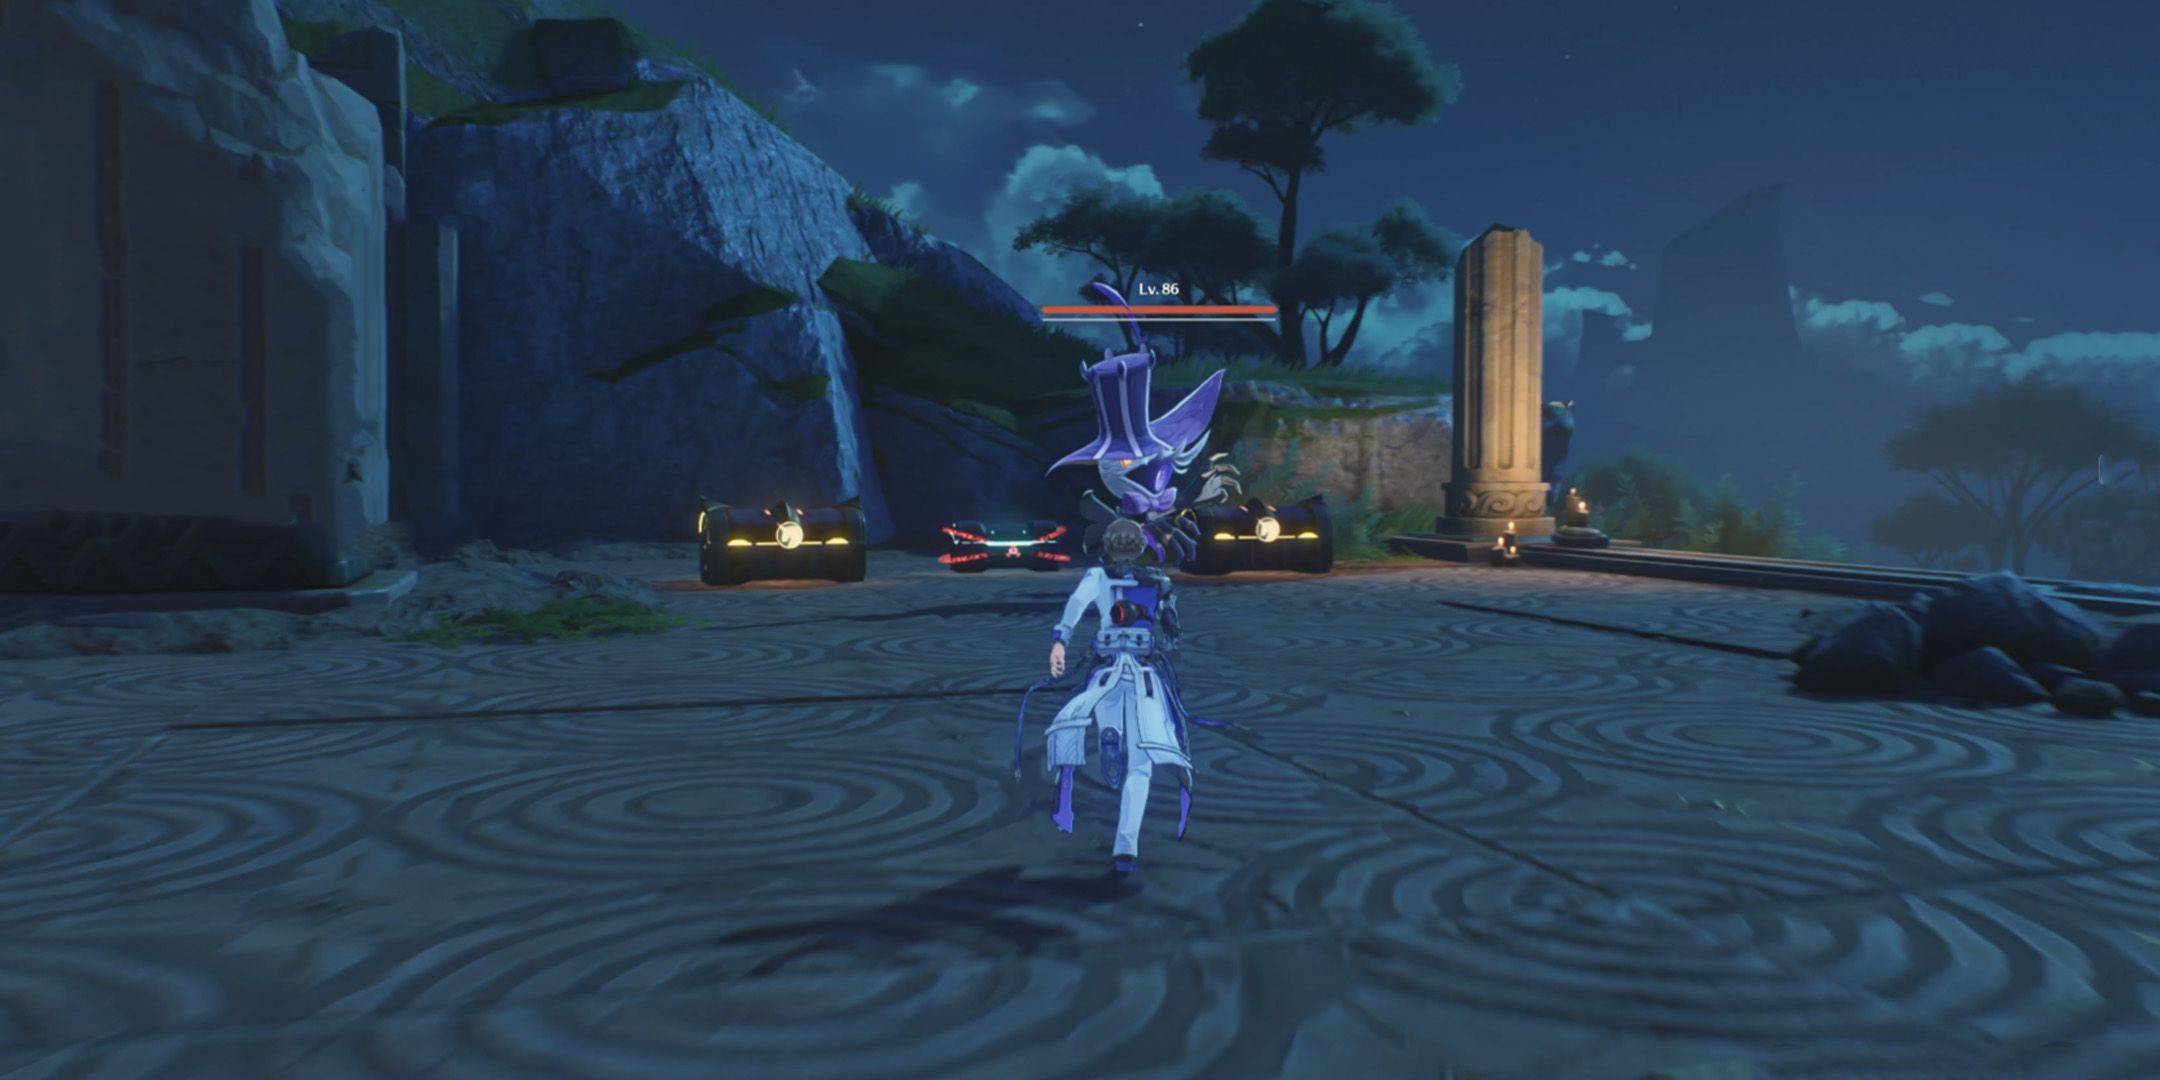
Utilizing the Sensor will help you detect nearby chests if you are in close proximity. Each Treasure Spot contains multiple Supply chests within a specific radius, clearly marked on your map by a yellow circle.
Whisperwind Haven Treasure Spot Locations:
Treasure Spot #1 (Northeast Egla Town):
This spot holds four chests. Follow these steps:
- Locate the crates between the two buildings and retrieve the Basic Supply chest.
- Ascend the small tower nearby for a Standard Supply chest.
- Glide to the nearby stairs and climb the building to the left, collecting another Basic Supply chest.
- Proceed towards the Mad Knight location in the town center and find a chest beneath the northeastern stairs.
Treasure Spot #2 (Southwest Egla Town):
Five chests await in this location. The strategy is as follows:
- Teleport to the Rinascita-Whisperwind Haven-Egla Town Resonance Beacon.
- Glide southwest towards the Plushies Echoes on a small island; defeat them to claim a Standard Supply chest.
- Head north to a small tent and open the Basic Supply chest inside.
- Jump over the tent, climb the platform, destroy the wooden boxes, and collect another Basic Supply chest.
- Move southwest to find a Basic Supply chest.
- Use the Echo Challenge: Plushie Leap to reach a higher platform and collect the final Standard Supply chest within a tent.
Treasure Spot #3 (South of Polyphemos Windmills):
This spot contains four chests:
- Fast travel to the Rinascita-Ragunna-Whisperwind Haven northern Resonance Beacon.
- Climb the small tower to the north for a Basic Supply chest.
- Leap to and climb the taller broken tower, then retrieve a Standard Supply chest behind the crooked wall.
- Glide east, defeat the Plushies Echoes, and collect another Standard Supply chest.
- Finally, move northwest to the fallen tower and find the last Supply chest beyond the crooked wall.
Treasure Spot #4 (Polyphemos Windmills):
Four chests are hidden here:
- Fast travel to Rinascita-Whisperwind Haven-Polyphemos Windmills.
- Defeat the Plushies to the southeast and claim a Standard Supply chest.
- Climb the small tower southeast of the previous location for a Basic Supply chest.
- Defeat the Plushies in front of a sealed chest to open a Standard Supply chest.
- Use the Echo Challenge: Plushie Leap to reach the highest tower and collect the final Basic Supply chest and the Sonance Casket: Ragunna.
Treasure Spot #5 (Northeast Silver Moon Grove):
This final spot holds four chests:
- Teleport to Rinascita-Whisperwind Haven-Silver Moon Grove Resonance Nexus.
- Head towards the Sword Of Generosity Pedestal, go beyond it, turn right, and collect a Basic Supply chest.
- Climb the stairs, defeat enemies, and collect a Standard Supply chest.
- Use the Echo Challenge: Plushie Leap to reach the mountaintop for another Standard Supply chest.
- Glide south to find the final Basic Supply chest.
By following these detailed instructions, you'll be well on your way to collecting all the valuable treasures hidden within Whisperwind Haven's Treasure Spots. Good luck, Rovers!

